Floating Liners: How To Prevent Them & How To Fix Them
How To Guides - Pools
What Causes A Floating Liner?
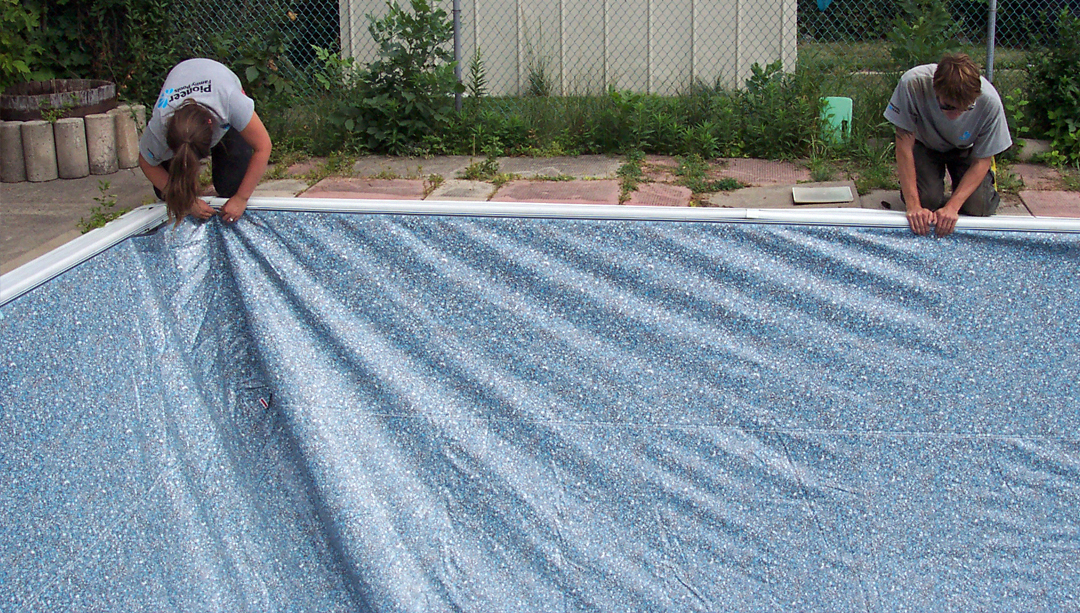
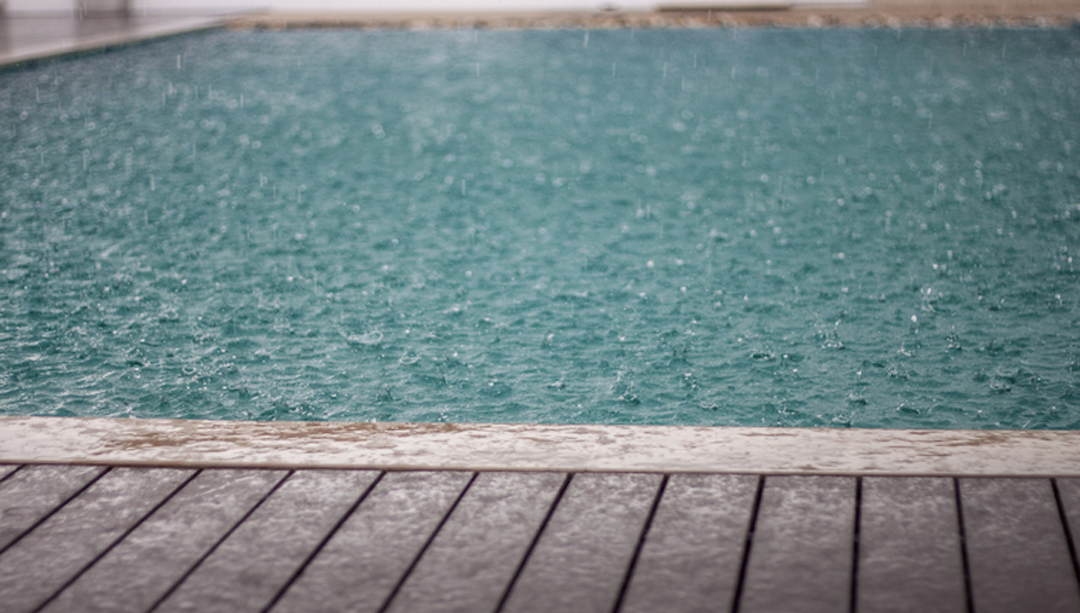
Spring is the season where trees and bushes that lost their leaves over the winter begin to grow new leaves and flower. The temperature of the air and soil start to warm up and the hours of daylight increase as the days get longer. Spring is also known to be a very rainy season. Although the rain is here to help nature bloom, the rain can sometimes cause issues for our pools and homes if proper precautions are not taken. Although the main component of a pool is water, vinyl pool liners are at the greatest risk of "floating" when the concentration of ground water sequestered around the pool area becomes greater than the volume or body of water inside the pool area cavity. This is where we get the term, "floating liner".
A floating pool liner can be very unsettling to pool owners who have not witnessed this problem before. There are a few different reason why this problem can happen but the repair process is the same regardless of how it came to be - to fix a floating pool liner, you simply need to get the water out from behind the liner. Before you can get the water out from behind the liner, you first need to understand what went wrong and what would allow this problem in the first place.
Water behind the liner can really only be from one of two sources, which are: water leaking out of the pool, or ground water from the water table of the ground surrounding the pool. This sounds easy enough to determine but unfortunately, it is not always that easy. Ground water can be the source of a floating pool liner even if you have owned your pool for many years and this has never happened before. Ground water tables can change over time as land around your property gets developed. You can also experience events with elevated ground water tables due to heavy rains, snow melt and even extended periods of drought followed by moderate rains; as this changes the speed and ability for the earth to absorb water. The problem does not even necessarily need to be in your immediate area, as there can be a cumulative trickle down effect if conditions are just right.
How would you know what the source of the water under your liner is? The first thing that you need to note is the current water level in your pool. This one factor will very likely be the key to figuring out where the water under your liner is coming from. You should also check the water behind your liner for chlorine with a test strip if you have the ability to test that water specifically. If you have a puddle in your yard, that happens to have 3 parts per million of free chlorine, you can be fairly certain that it came from your pool.
The most common period of the year when the pool is at risk, is from the fall pool closing season through winter into spring, prior to pool opening season when the water level is low. During the fall season, and in through winter and spring, precipitation can be high, thus over time the ground area around the pool becomes saturated; this is when a pool is at risk of developing a floating liner as the water lever is lower than normal operating level. There are however, preventative measures to mitigate the risk of a floating liner.
How To Prevent A Floating Liner
Regular sump well maintenance is key. The sump well acts as a catch basin that receives water from high water tables and evacuates it away from the pool area. When the water in the sump well becomes full, the pump turns on and empties the well slowly out of a hose and to a storm sewer or storm water run-off basin. A standard submersible pump can be used for the sump well however, this involves constant manual involvement with monitoring the well and manually turning the pump on and off as needed. The benefit of a submersible pump, with an auto shut off ballast float, is that it turns itself on as water levels in the well rise; and will then shut itself off as the well empties. The sump well's main purpose is to gather water from around the pool area and direct it away from this area of the property thus mitigating any risk of liner float due to ground water intrusion.
The sump well is covered with a circular patio stone or other cover. The sump well is essentially a monitoring station that you should periodically inspect. If you find more than 12 inches of water accumulated, you should use a submersible pump to slowly lower the water level to approximately 3 inches. It is important that you lower the water slowly and remove as much as possible.
Pools with traditional tarp winter covers, or vinyl lock in winter covers, are also at greater risk of having a floating liner during the period leading into pool opening season as the covers have plenty of rain and snow melt water from the fall and winter seasons pumped off. The water on top of these covers should be left on, and not drained off, until the area around the pool is drier or when the area around the pool is kept manually drier with the aid of the sump well maintenance mentioned above. The water sitting on top of these covers adds water volume into the pool cavity area and, combined with the lower pool water underneath, functions to equalize the total water inside the pool area in relation to the surrounding concentrations of ground water around the pool. As previously mentioned, the pool is at greatest risk of liner float when the water volume inside the pool is lower, and the concentration of water outside the pool area is higher. Therefore, by timing the pumping-off of your winter cover for opening during a dry period, or after routine sump well maintenance, you will prevent the risk of developing a floating liner.
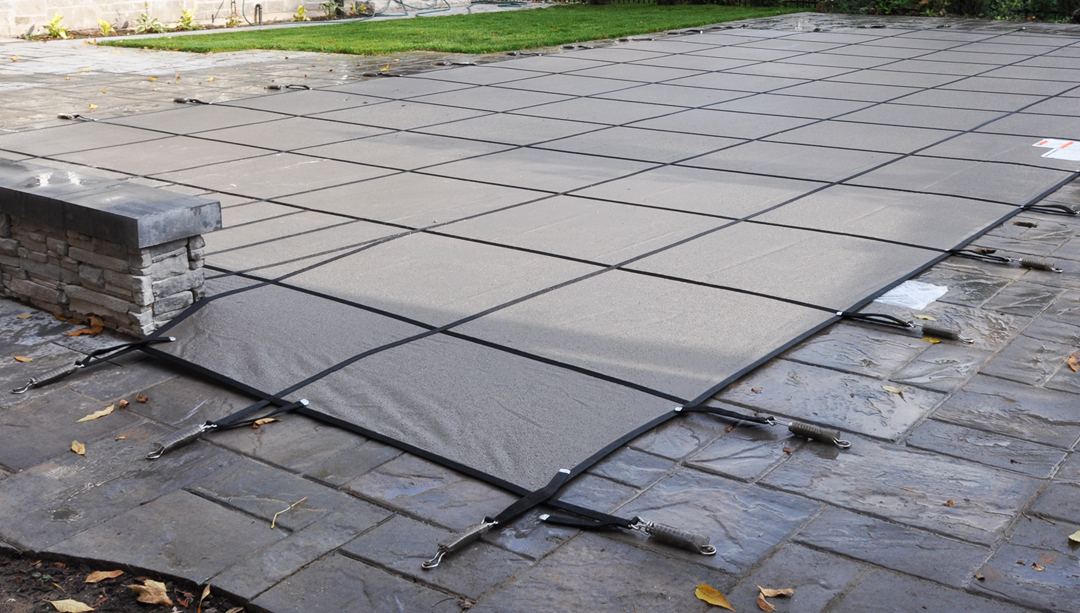
Safety covers offer benefits to mitigate floating liners. Aside from keeping the pool safe and protecting your investment, safety covers are the ideal winter cover to help mitigate the risk of a floating liner when working with routine sump well maintenance. Safety covers are designed to keep debris and objects from getting into the pool but, their material design allows for rain and snow/ice melt to diffuse through the cover and into the pool. Therefore, by naturally filling the pool via mother nature over the course of the fall and winter season (during seasons with high precipitation) the pool will fill right back up to the pool's normal operating level. This free fill from mother nature saves water and money in the spring and you won't have to top your pool back up with your garden hose! A full pool under the cover going into spring time, as mentioned above, ensures that the water volume inside the pool cavity is at its highest and will equalize with outside ground water; preventing a floating liner.
In the event that your liner starts to float, there are ways to fix it. If you'd prefer to fix it your self, keep reading. If you'd rather leave it to an expert, please click here.
How To Fix A Floating Liner
You will need about 6" to 18" of liner out of the track in order to sleeve a pump suction pipe behind the liner. Some liners tend to "run" and once they are pulled from the coping track, they may pull out in both directions. To limit the amount of running the liner bead does, you can use either a liner lock or simply a tapered wood clothes peg, with the spring removed, to help wedge the liner in the track on either side of the area you are working with. Once you have the liner out of the track, you can sleeve a suction pipe from a service pump, or even your own pool pump, and pump the water either into the pool or to a location far removed from your pool area.
Assuming that you do not have a severe liner floating problem, and it appears that your flanges are not in danger, the next concern is how the liner will seat itself as you evacuate the water from behind the liner. When a liner is installed, it is done so on a warm and sunny day and will easily move, sit or stretch as needed in order to place it precisely in the correct spot. Once your liner has floated, you have lost the original positioning of the liner. While the bead remains stationary in the track, and so no lateral movement of the liner will happen at the top of the wall, the coves, corners and slopes of the floor will most likely all shift.
Since your liner is underwater you many never be able to put your liner back to where it was intended to go. While unsightly and not ideal, there is little you can do other than manually attempt to place the liner as the water recedes. This is easier said than done, since the water recedes slowly as the pump behind the liner runs. We recommend that you grab a couple of bags of pool salt and use themas weighted bags to attempt to keep the liner where you want it. The most important area is the shallow end break point; or the point at which your shallow end floor begins to slope down towards the deep end. You will want to attempt to make the liner sit correctly on both sides of the break point; where the shallow end break meets the pool walls. You may also find it helpful to put two or four bags of salt by the pool steps, if you have in-wall steps, to help seat the liner with minimal stretch in this area.
Wrinkles in a liner are sometimes unattractive, they trap debris and the liner colour will most likely wear off on the raised area. In some situations, you can minimize wrinkles by manually working them in with a plunger underwater. If you can work a wrinkle to the edge of your pool, you may be able to lose it in the cove; if there is a cove in your pool.
Wrinkles left on the walls can be dealt with in a similar way, but you also have the option of purposefully floating your liner to help reset them. Certainly you do not want to flood your pool area again, but running a garden hose for a minute behind the wall may help to hydrostatically balance the vinyl long enough to set it in a more desirable, and hopefully wrinkle free, location.
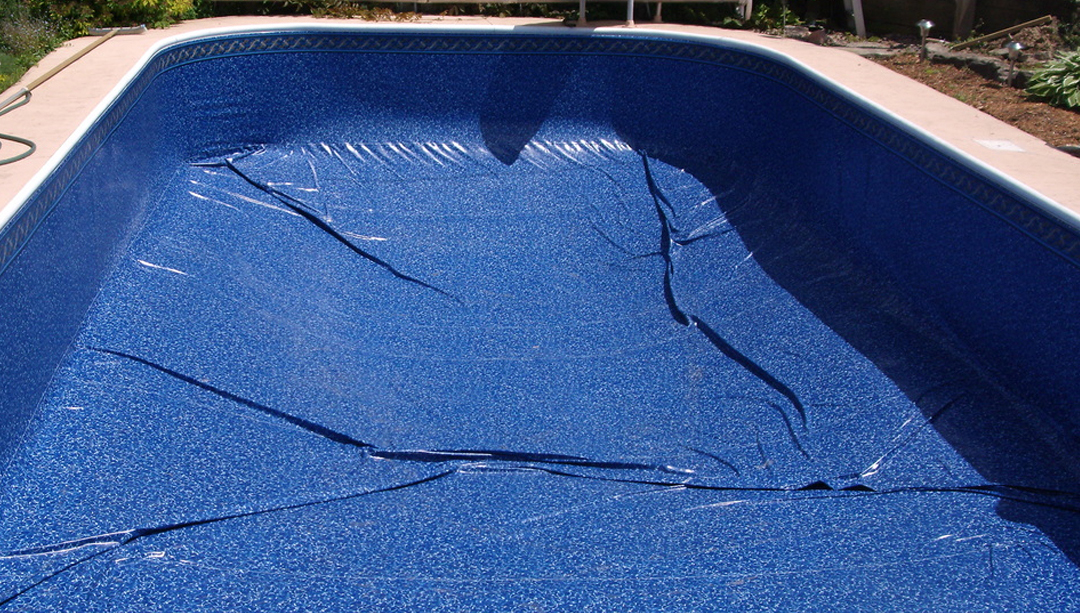
If you ended up with floating liner in your pool, then there will likely be little concern for long term damage. Did your liner reset everywhere without wrinkles, or with very minimal signs of shifting and wrinkles? If so, than you are probably in the clear.
The long term concerns of a floating liner is that the water will do extensive damage to pools. If you have a concrete deck around the pool, it may begin to show signs of sinking and cracking. In addition to weakening concrete at an advanced rate and washing away the backfill around your pool incrementally over time, there is concern for the rusting of your pool walls; if you have galvanized steel walls on your pool. Galvanized steel walls are incredibly durable for inground vinyl pools and seldom have structural failures due to rust where entire wall panel sections need to be replaced; this can happen if the damage from corrosion is bad enough. Chlorinated water is a much greater concern than simply ground water, however ground water can have adverse pH levels or mineral levels that can contribute to advanced rates of corrosion. Steel walls for inground vinyl pools are meant for direct burial, however they are not meant for underwater use and if you have standing water behind your pool walls that extend up to the shallow end of your pool or higher, than you will need to have this fixed.
If you are reading all of this information with the attention to solve a standing ground water issue behind your vinyl liner pool, we strongly encourage you to seek the advice of one of our service professionals who can inspect your pool installation for deficiencies.
